Setting up Autoscale
Autoscaling is basically load balancing where the number of instances used to handle your traffic is automatically adapted to match the current traffic load. On Unikraft Cloud (UKC), scale out (the process of adding instances to cope with increased load) happens in milliseconds, so you can transparently and effortlessly handle load increase including traffic peaks. No more headaches due to slow autoscale like keeping hot instances around to deal with peaks, coming up with complex predictive algorithms, or other painful workarounds; you can just set autoscale on and let UKC handle your traffic increases and peaks.
The Basics
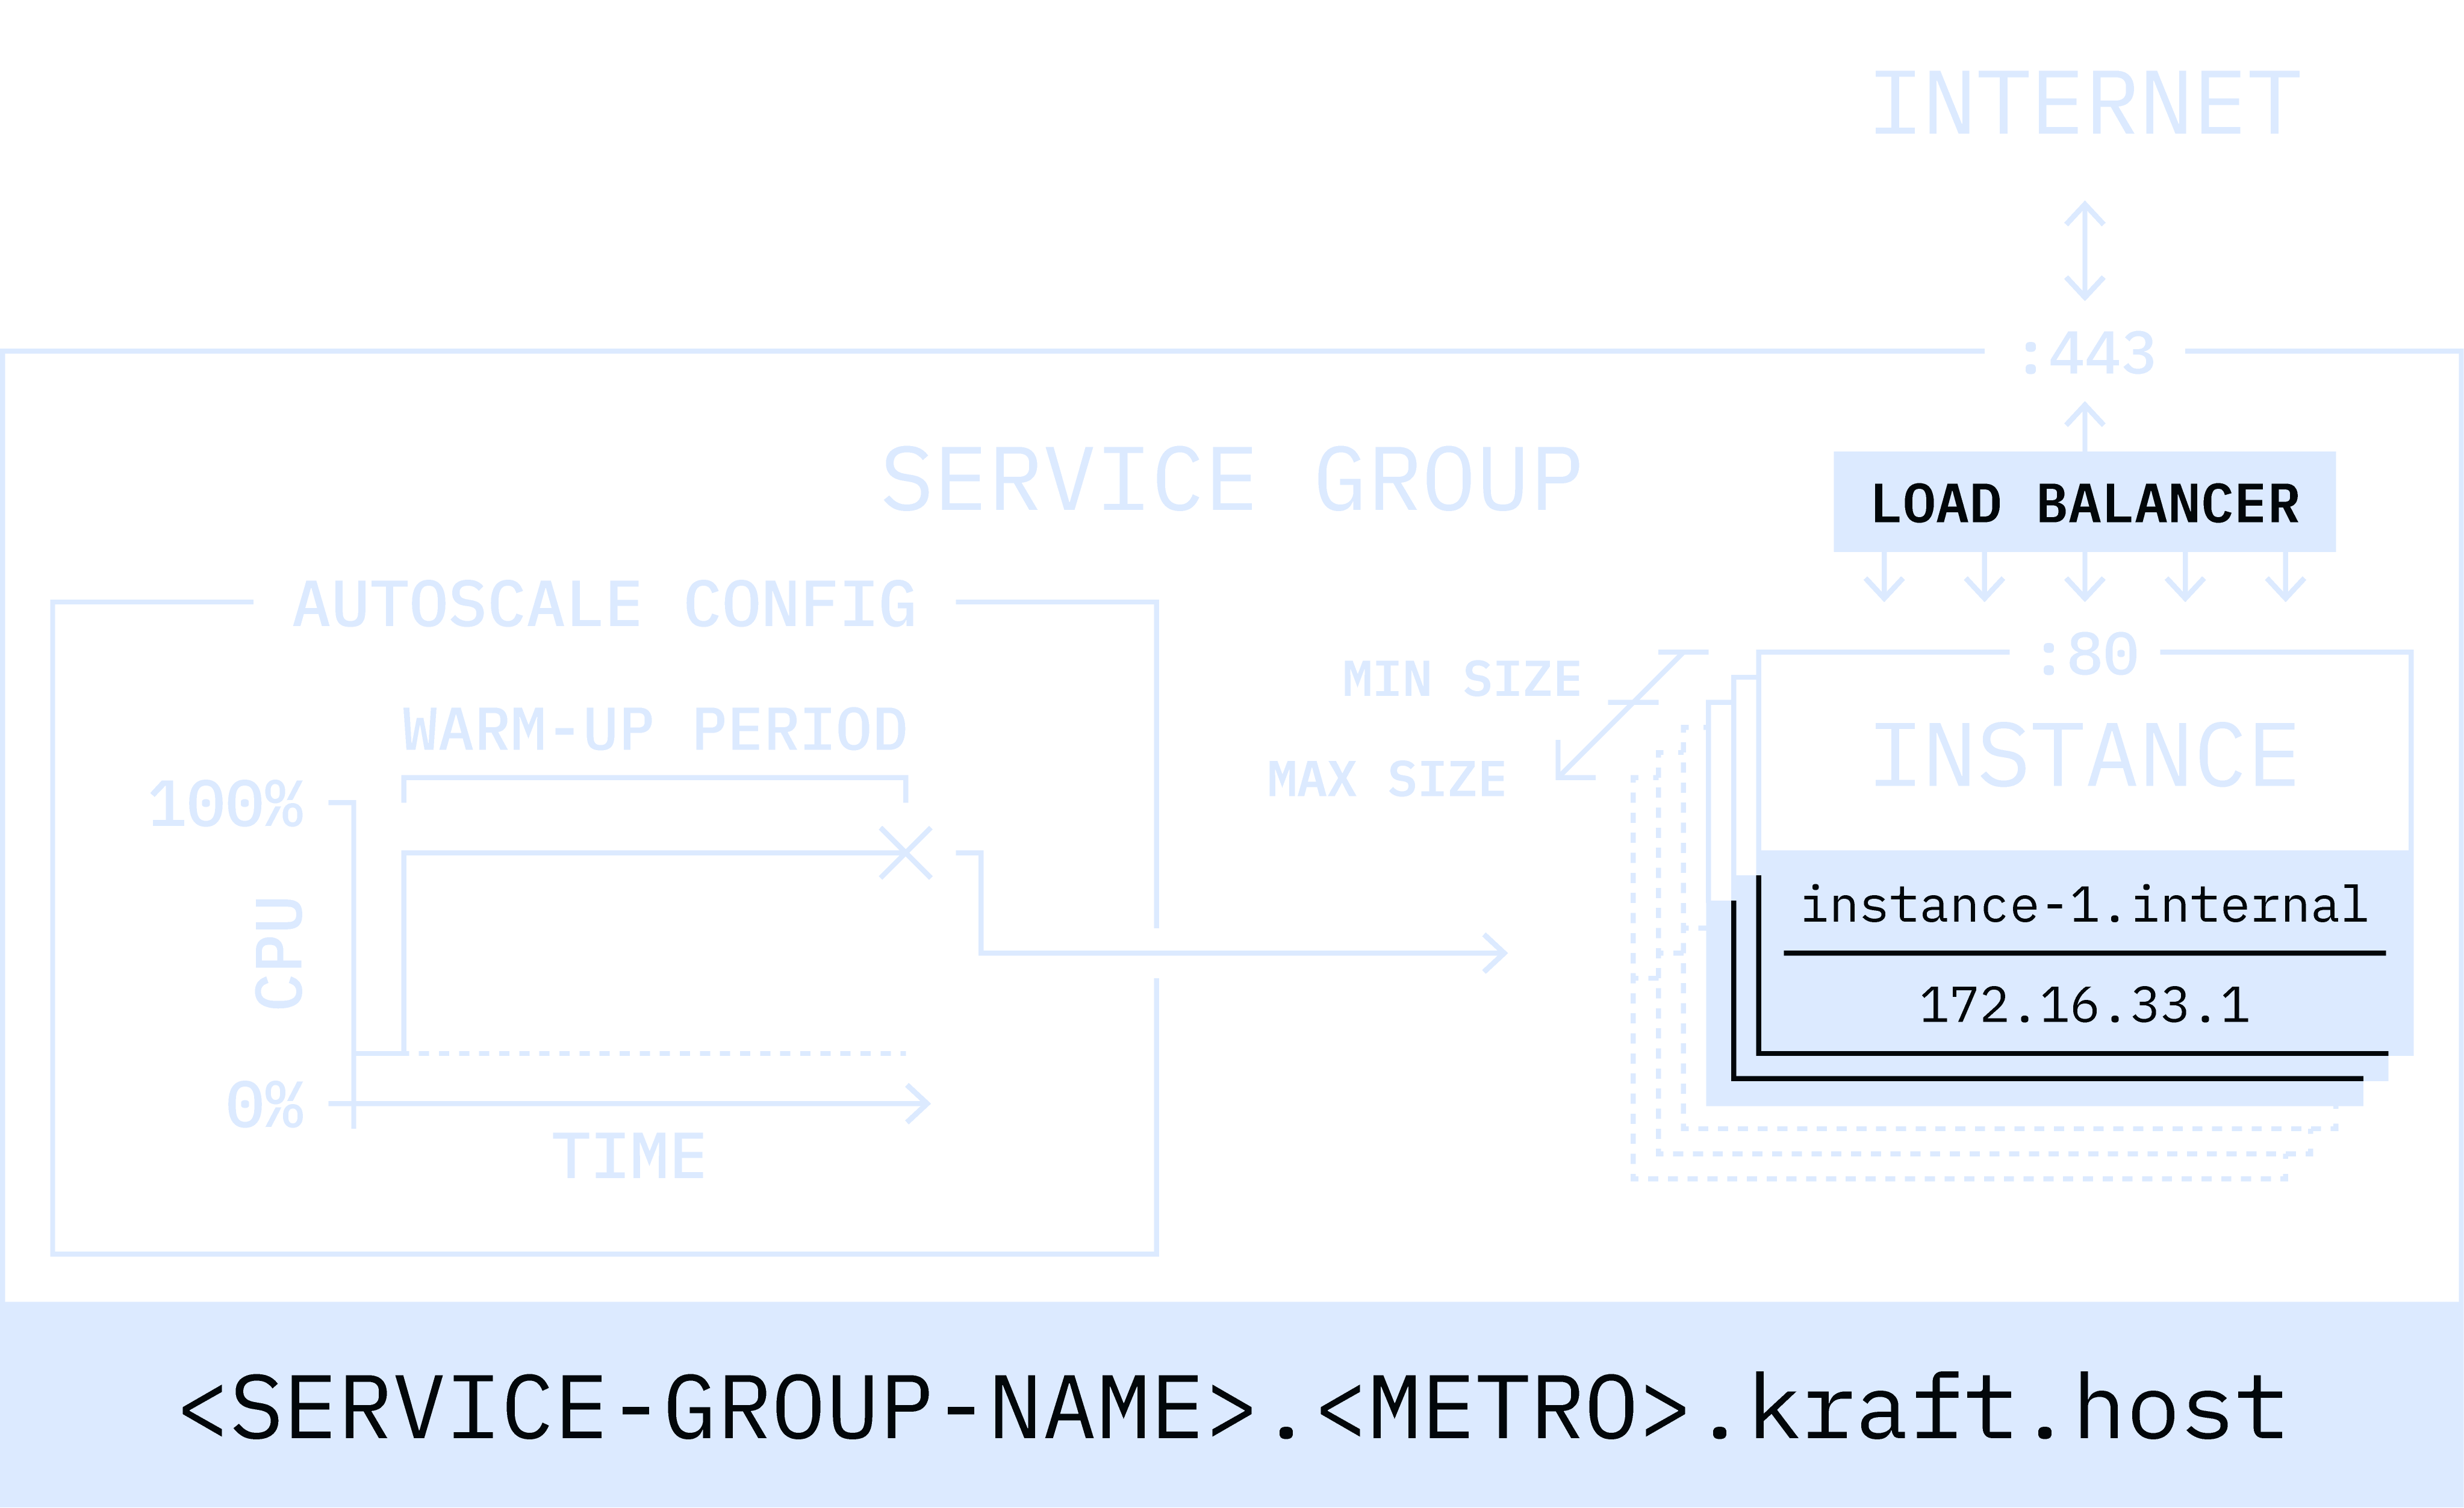
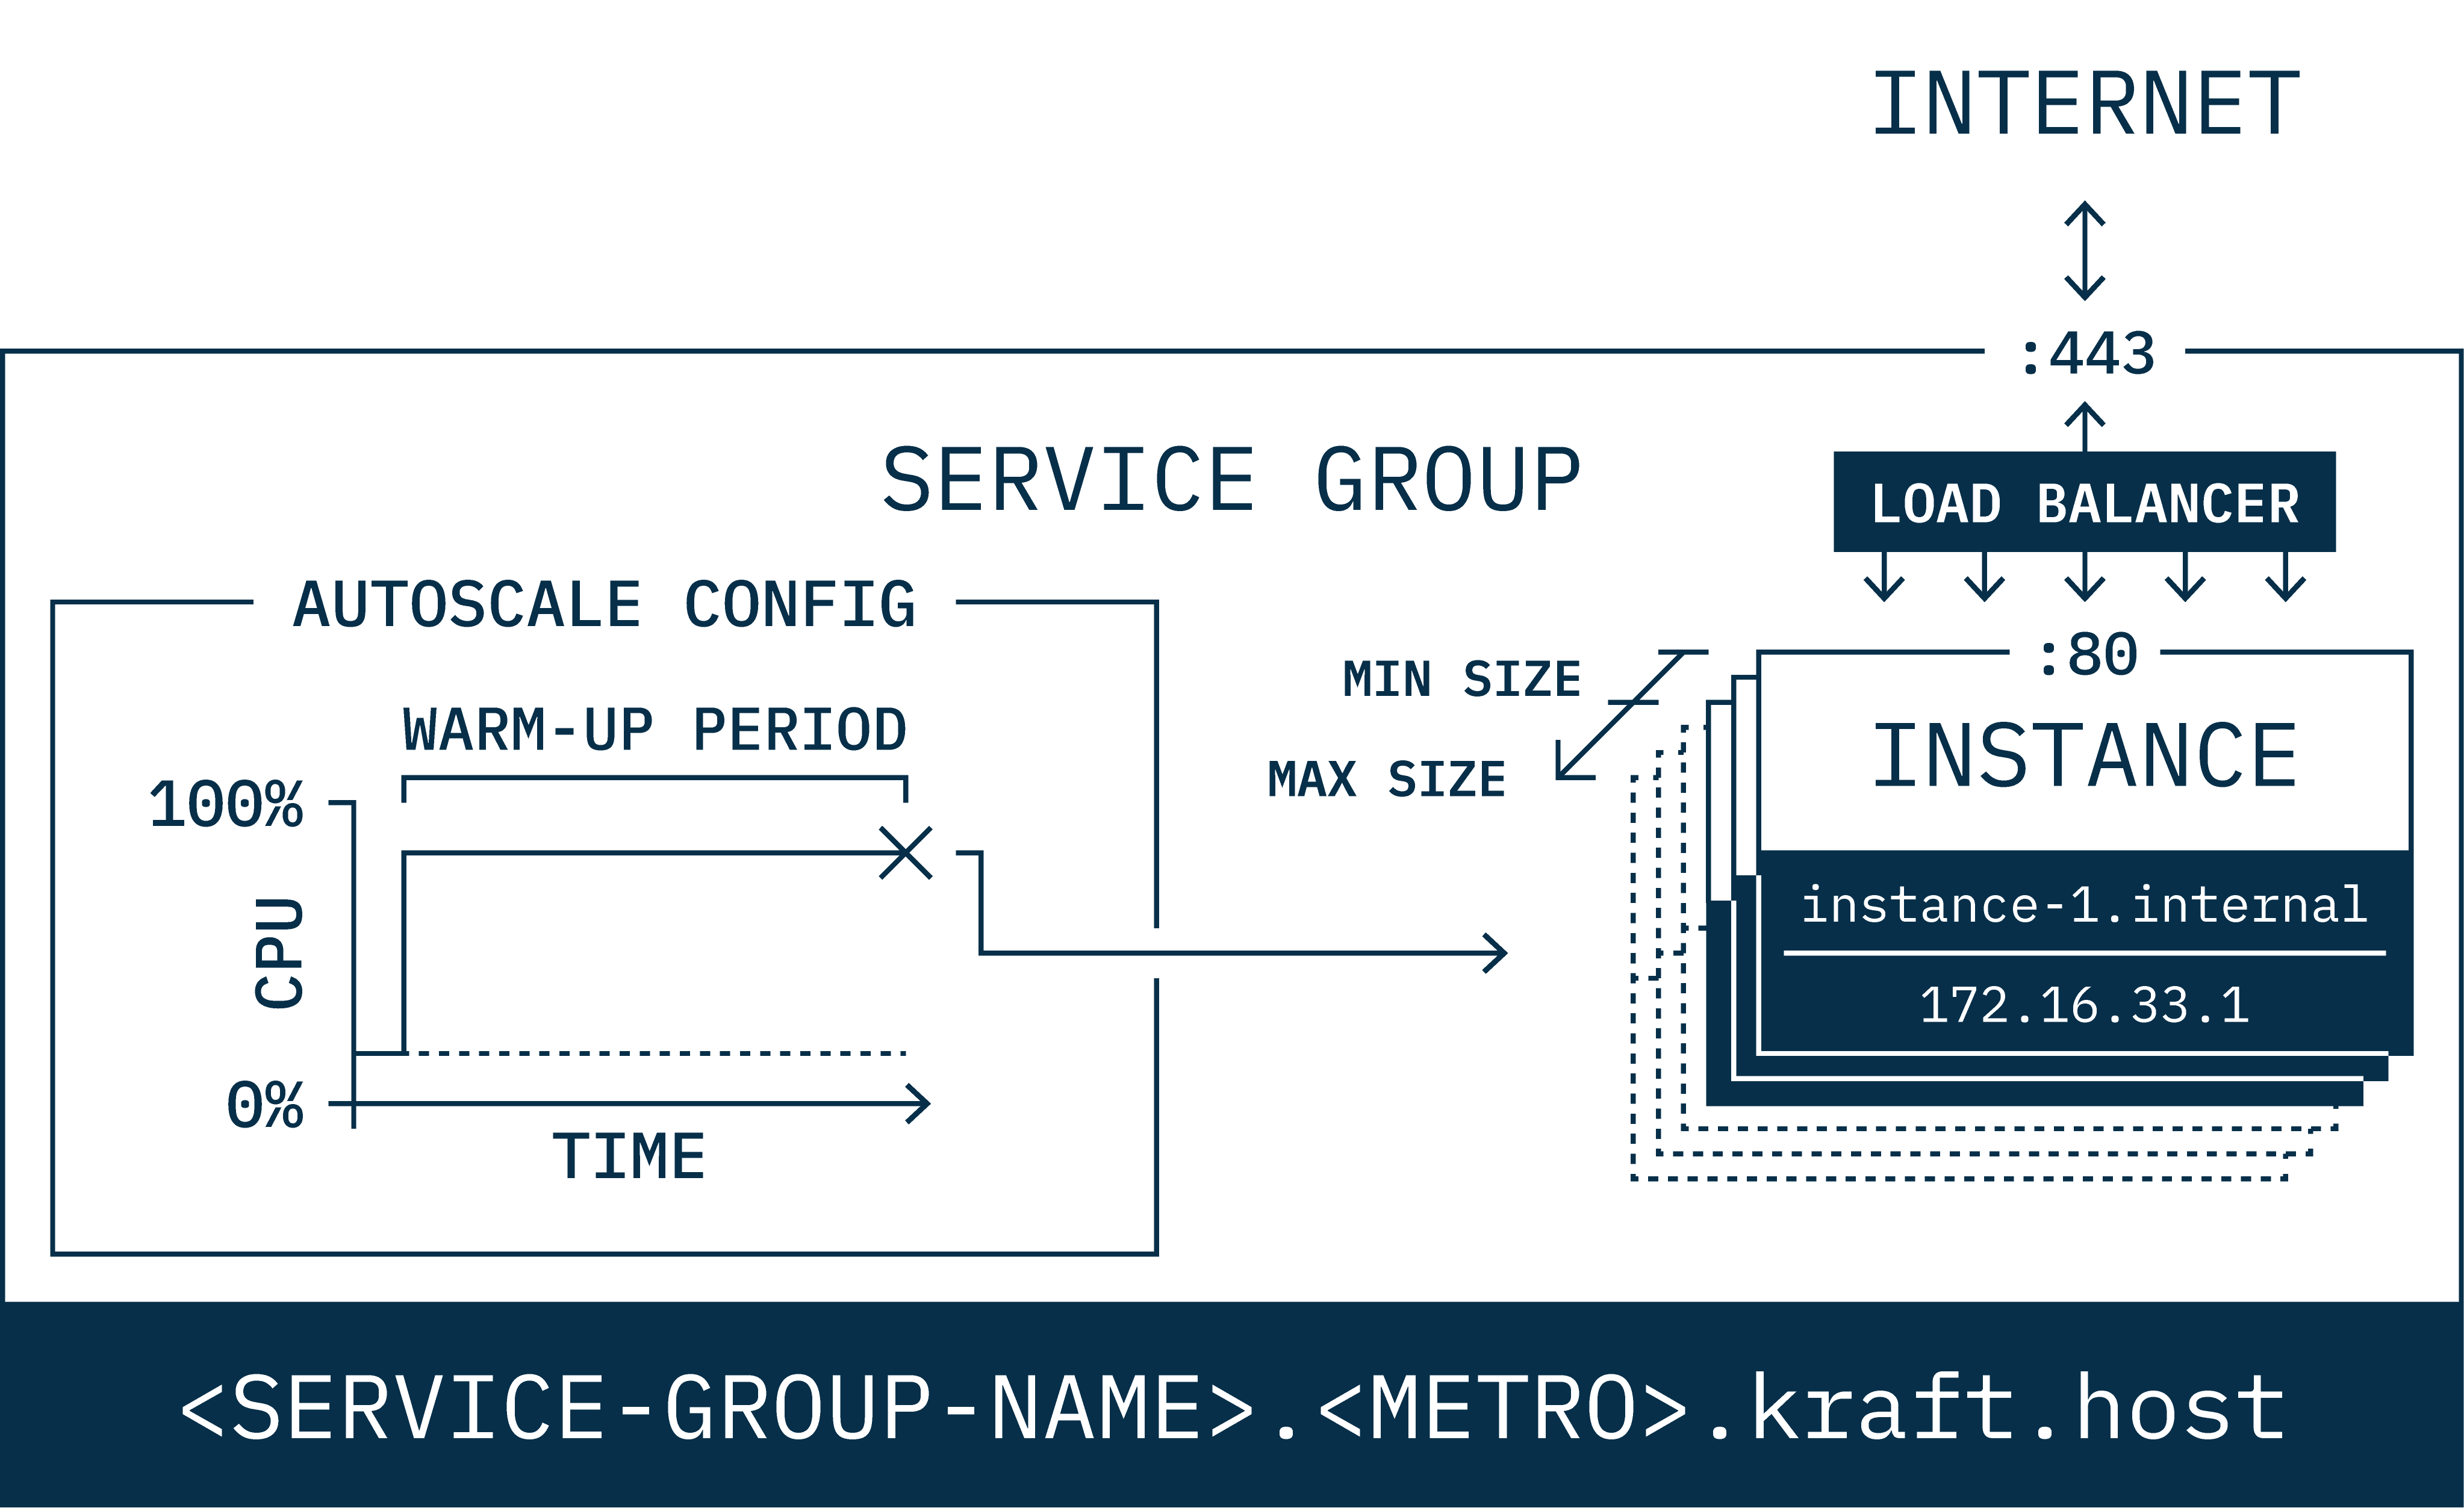
As with load balancing, autoscaling in UKC is handled via a service. Services allow you to load balance traffic for an Internet-facing service like a web server by creating multiple instances within the same service, as shown in this diagram:


While you can add or remove instances to a service to scale your service, doing this manually makes it hard to react to changes in traffic load, and always keeping a large number of instances running just to cope with intermittent bursts would be wasteful and expensive; this is where autoscale comes into play.
With autoscale enabled, UKC takes care of the heavy lifting for you by continuously monitoring the load of your service and automatically creating or deleting instances as needed.
Setting up Autoscale
First, we’ll use the kraft cloud deploy command to create an instance, in this example we’ll use NGINX:
git clone https://github.com/unikraft-cloud/examplescd examples/nginx/kraft cloud deploy -p 443:8080 .[●] Deployed successfully! │ ├────────── name: nginx-4d7u3 ├────────── uuid: 8fda2a70-6a32-4b5e-8900-4395b33d02d7 ├───────── state: running ├─────────── url: https://small-leaf-rafirkw7.fra0.kraft.host ├───────── image: nginx@sha256:389bfa6be6455c92b61cfe429b50491373731dbdd8bd8dc79c08f985d6114758 ├───── boot time: 20.36 ms ├──────── memory: 128 MiB ├─────── service: small-leaf-rafirkw7 ├── private fqdn: nginx-4d7u3.internal ├──── private ip: 172.16.6.5 └────────── args: /usr/bin/nginx -c /etc/nginx/nginx.confWith this single kraft cloud deploy command we’ve accomplished 3 things:
- Created an instance of NGINX which we will use as the autoscale master instance.
- Created a service via the
-pflag (namedsmall-leaf-rafirkw7). - Attached the instance to the service (automatically done by the
-pflag too).
All that’s left to do now to set up autoscale is to set an autoscale configuration policy and to set our instance as master;
UKC will then take care of cloning this master instance whenever load increases.
To achieve this we’ll use the kraft cloud scale command:
kraft cloud scale init small-leaf-rafirkw7 --master nginx-4d7u3 --min-size 1 --max-size 8 --warmup-time 1s --cooldown-time 1skraft cloud scale add small-leaf-rafirkw7 --name scale-out-policy --metric cpu --adjustment percent --step 600:800/50 --step 800:/100kraft cloud scale add small-leaf-rafirkw7 --name scale-in-policy --metric cpu --adjustment percent --step :50/-50Note the following:
- With the first command we set the master to the instance we created, and say that we want to scale up to a maximum of 8 instances and a minimum of 1; we also set the warm up and cool down time to 1 second each, so we’re not constantly fluctuating up and down.
- With the second command we set the scale out policy based on CPU utilization (in millicores): between 60% and 80% utilization, increase by 50% of instances. From 80% onward, double the number of instances.
- With the third command we set the scale in policy: below 50% utilization, reduce the number of instances by half (note the
-sign for scale in).
Testing it
To check it’s working, you can use the kraft cloud scale get command to list the autoscale properties of the service:
kraft cloud scale get small-leaf-rafirkw7You should see output similar to:
uuid: 5ca059ec-a24a-41f2-8413-f09bc58730ca name: small-leaf-rafirkw7 enabled: true min size: 0 max size: 8 warmup (ms): 1000 cooldown (ms): 1000 master: f840ac12-f485-4f02-9f33-6a0a7de46f1f policies: scale-out-policy;scale-in-policyTo list an individual policy, you can further use the kraft cloud scale get command as follows:
kraft cloud scale get --policy scale-out-policy small-leaf-rafirkw7You should see output similar to:
adjustment_type: percentenabled: truemetric: cpuname: scale-out-policystatus: successsteps:- adjustment: 50 lower_bound: 600 upper_bound: 800- adjustment: 100 lower_bound: 800type: stepYou can further check that the master instance is on standby, i.e., it has been scaled to 0 (assuming your service isn’t receiving any traffic yet).
You can get the UUID of your master instance from the kraft cloud scale get command above.
kraft cloud inst get f840ac12-f485-4f02-9f33-6a0a7de46f1f -o listYou should see output similar to:
uuid: f840ac12-f485-4f02-9f33-6a0a7de46f1f name: nginx-9mbf2 fqdn: restless-resonance-0oo7m7s8.fra0.kraft.host private ip: 172.16.6.4 state: standby created at: 30 minutes ago image: nginx@sha256:d4325c1f1a472c511723148adc380d491029f4c98a2367fbeff628c6456d4180 memory: 128 MiB args: /usr/bin/nginx -c /etc/nginx/nginx.conf env: volumes: service : 5ca059ec-a24a-41f2-8413-f09bc58730ca boot time: 19465usNote the value of the state field. Now let’s make sure the service is up:
curl https://small-leaf-rafirkw7.fra0.kraft.hostYou should get an immediate response, even though the instance was on standby.
You can use the watch tool to see if you manage to see the instance change state from standby to running:
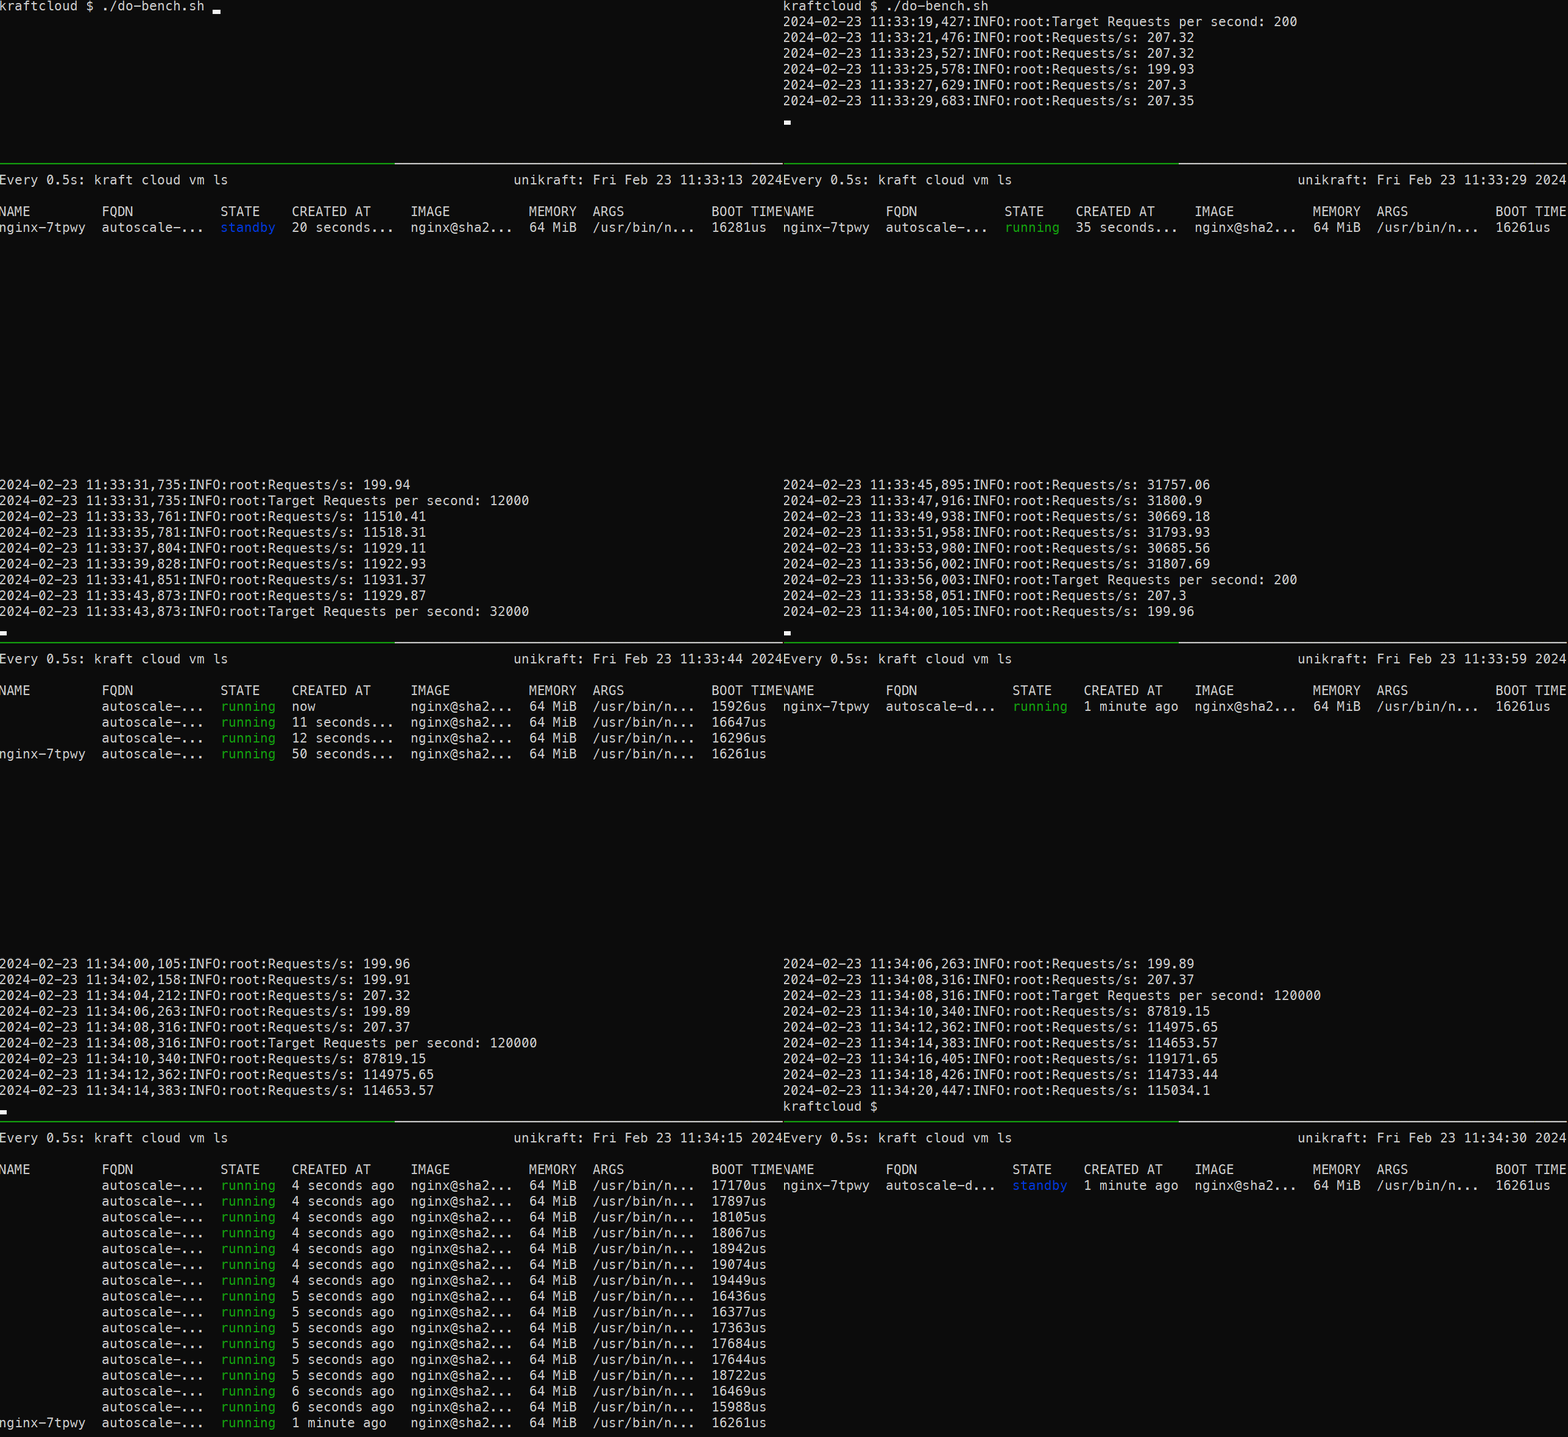
watch --color -n 0.5 kraft cloud instance listThat’s it! To test scale out send traffic to your service. Here’s a brief video showing different traffic loads and how Unikraft Cloud’s autoscale reacts to them:

Learn More
- The
kraft cloudCLI reference, and in particular the scale sub-command - Unikraft Cloud’s REST API reference, and in particular the section on autoscale